Download
Related Links
- Snapfish Plug-in Home Page
- Purchase and Registration
- Installation Instructions
- Using the Plug-in
- Support and Troubleshooting
- Latest News
Purchase
| License Type: | Single User License |
| Price: | $15 USD |
Snapfish
Installation
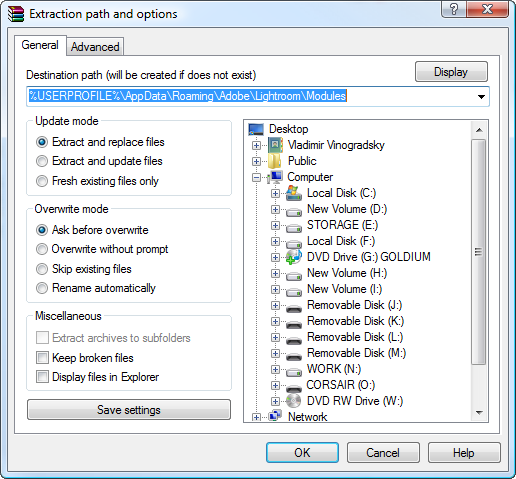
We are going to install the plug-in by extracting the SnapfishExport.lrdevplugin folder contained in the zipped package to %USERPROFILE%\AppData\Roaming\Adobe\Lightroom\Modules. The screenshots below illustrate the installation process.Note: I am running Windows Vista. If you are running Windows XP or Mac OS the installation path will be different (see the readme file or visit Snapfish Plug-in Home Page for information), however the principle remains the same.
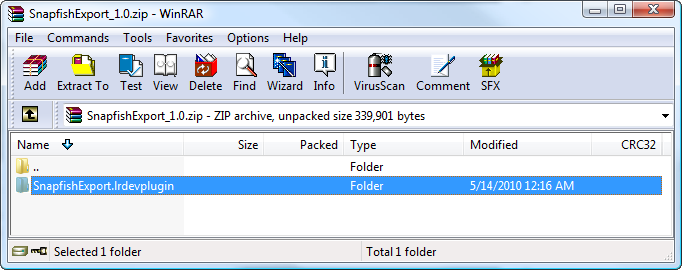
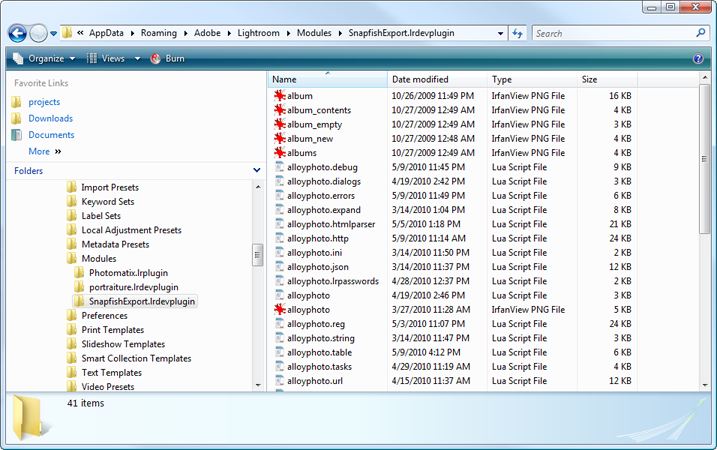
After extracting the files, your installation folder should look like this:
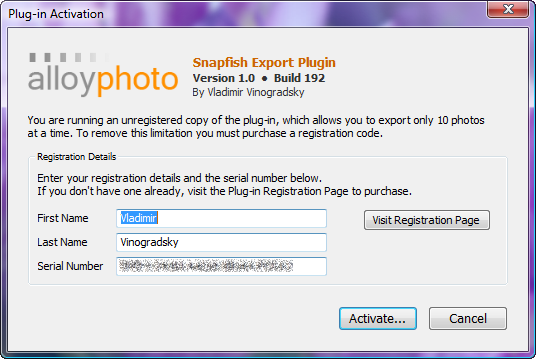
Activation
Now that files have been extracted, we are going to launch Lightroom and activate the plug-in.
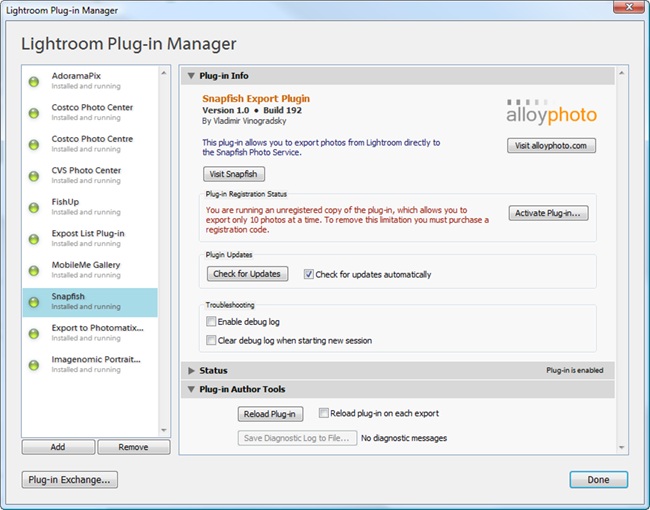
You can go directly to the Lightroom Plug-In Manager by choosing File | Plug-in Manager... from the main menu or by pressing the arcane key combination Ctrl+Alt+Shift+. Snapfish should appear in the list of installed plug-ins on the left hand side - click it so the Plug-in Manager displays the plug-in details in its main panel on the right hand side: