Version
3.2.0 is available for download.
Changes in this version:
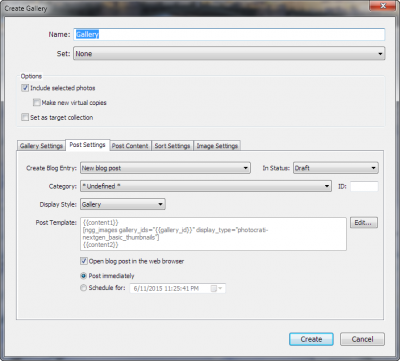
- New major feature: Now you can create blog posts right from the plugin.
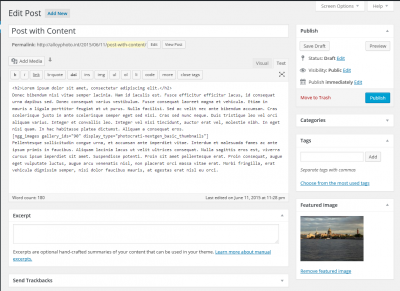
- Implemented full support for featured images in posts. When creating new blog posts, the selected image in the collection becomes the featured image for the post.
- Improved the image size validation mechanism. Now size validation works correctly when rendering uploads from smart previews and when doing percentage-based resize (Lightroom 6).
- Improved the session management mechanism in order to minimize possible issues with asynchronous operations.
- Other minor improvements.
For a detailed list of changes, see the
NextGEN Gallery Export Plugin home page.
How to create text content for blog posts:
1. Modify the post template and insert placeholders from content blocks. You can use two blocks if you want to display the gallery between two blocks of texts.
Better yet, modify the default template in publish/export options, so you won't need to adjust the layout every time you post.
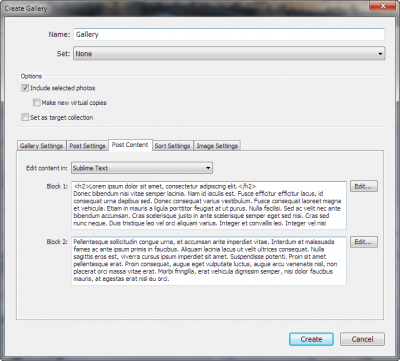
2. When you create a gallery, enter your contents blocks on the Post Content tab. For convenience, use an external editor. Mac OS comes with TextEdit - a good HTML capable editor. Windows users are not so lucky, but there are many 3rd party options.
3. Proceed with creating the gallery and uploading photos. Now you have your post complete with text content you have just entered. Note the featured image - it was set automatically.


